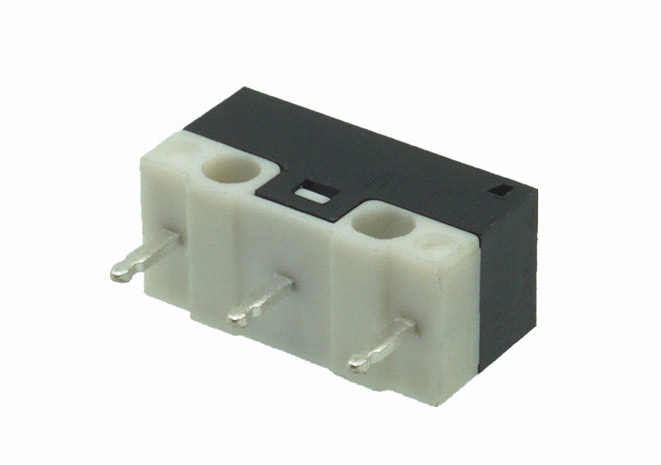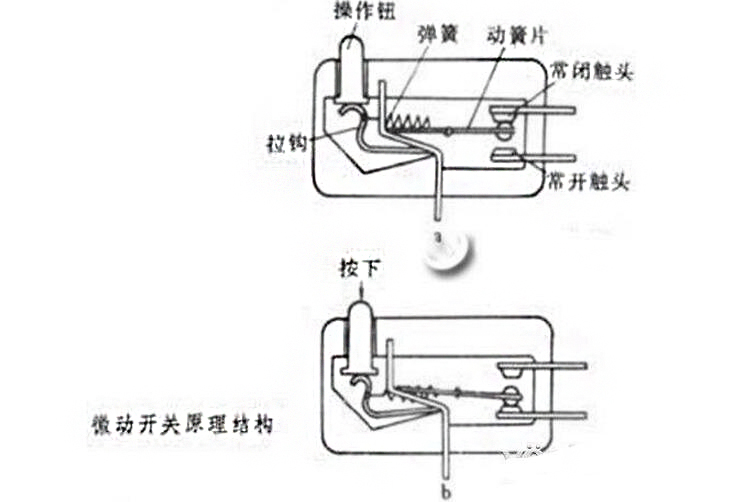
First, use an electric soldering iron and tin wire to connect the three feet behind the micro switch, so that when the tin is heated again, the tin can be heated at the same time to achieve the purpose of melting together. After connecting the tin, stop for a while, and then Use gold tweezers to hold the top of the micro switch, and heat the solder joints of the three feet at the back again. You can move the soldering iron head slightly laterally. After the tin of the three feet is melted, gently bend it to the front of the micro switch to make the micro switch move slightly. The three feet behind the switch are raised by about 0.3MM, but do not use too much force, and then quickly and repeatedly heat the two solder joints in front of the micro switch. After the solder joints are melted, bend slightly towards the back of the micro switch. Angle, so that the two feet in front of the micro switch are just separated from the pad, and the strength should be light. Finally, heat the solder joints of the three feet at the back, bend forward some angles, and the micro switch can be removed smoothly.

Judgment and maintenance method for damage and failure of mouse micro switch and micro switch disassembly method The specific manifestation of mouse micro switch failure is usually: the mouse can be positioned, but the corresponding command cannot be executed after pressing the mouse button. In the failure of the mouse, the damage rate of the micro switch is relatively high, especially the micro switch under the left button of the mouse. The general treatment method for such failures is to replace the microswitch or replace with a new mouse. If the faulty mouse is a three-button mouse, the key in the middle is basically useless, so you can remove the micro-switch under the middle button to replace the damaged micro-switch. The failure and maintenance methods of the mouse micro switch are as follows:
1. Unscrew the fixing screw of the mouse and open the mouse. Some mice don't have a set screw, which can be pryed off with a screwdriver; others have a set screw located under a logo sticker or protective fleece that must be uncovered to find the set screw.
Second, remove the mouse circuit board, you can see that three identical microswitches are soldered to the top of the circuit board in a line.
Third, solder the micro switch in the middle and the damaged micro switch, and swap them. It should be noted that the electric soldering iron must be grounded reliably, and the electric soldering iron should be powered off during the welding process.
Fourth, restore and connect the mouse to complete the maintenance.


